Garrattfan's Modelrailroading Pages
Fairlie Merddin Emrys
9.00 Some prepratory thoughts on painting and lining
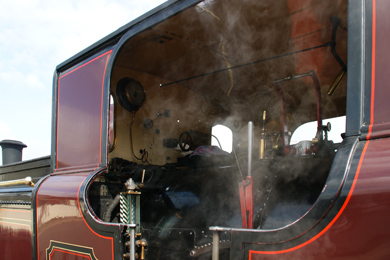
I have completed the actual construction of the loco and now I am planning the painting and lining task. This is by no means easy. First the loco is painted in three colours: dark maroon and black for the superstructure and a yellow-ish for the inside of the cab sheets. That alone is a big task but something I have done before. The real issue is the lining |
||
Painting the superstructure, the strategyI have drawn up a plan and order for things to happen to get the basic painting of the loco done
So far, although maybe a lot of work, there is little I have not done yet. |
||
LiningLining is quite a different thing though. Merddin Emrys is intricately lined. So far I have not chosen yet between the various options for lining
I am currently weighing the pros and cons and most probably I will choose all three using each in it strongest quality for the given lining task. That the lining is intricate is shown by a few photos |
||
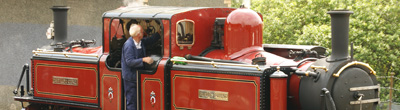
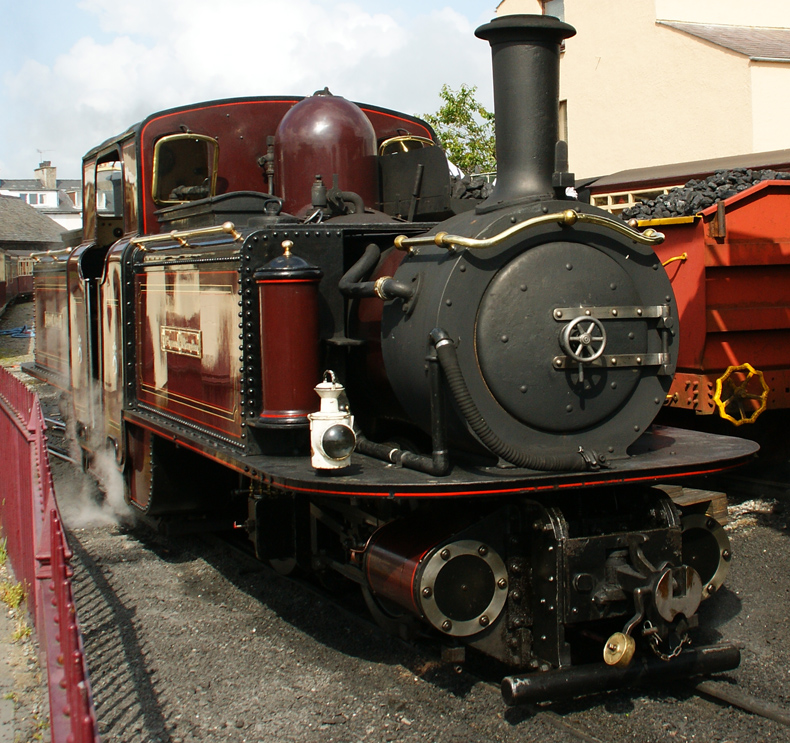
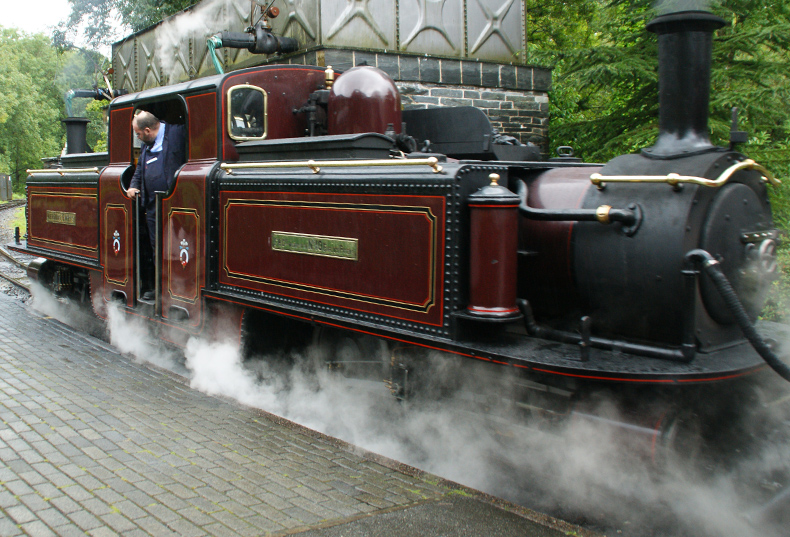
Merddin Emrys leaving the coaling stage at Porthmadog, 13 June 2009. The above photo shows the general arrangement of the lining.
|
||
 |
 |
|
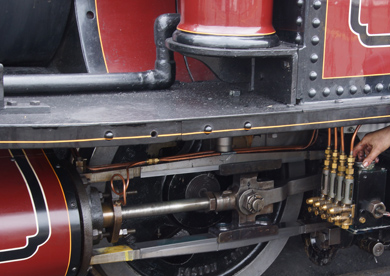
| Two detail shots reveal that the top of the cab side sheets are lined with a simple red-black, as is also the case for the boiler where it joins the smokebox. | ||
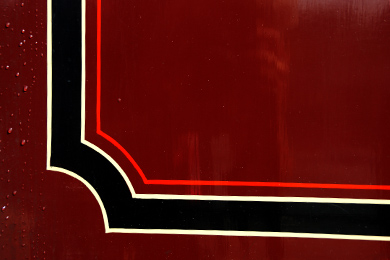 |
This photo is to show the intricate lining of the tank and lower cab sheet sides.: yellow-black-yellow followed by a thin red line and with an inset corner. | |
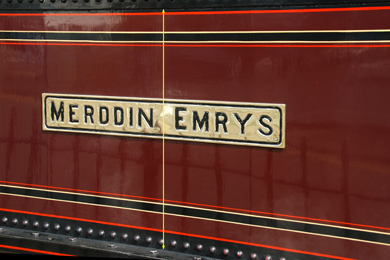 |
There is also a wider red line on black on the outside of the tank.
|
|
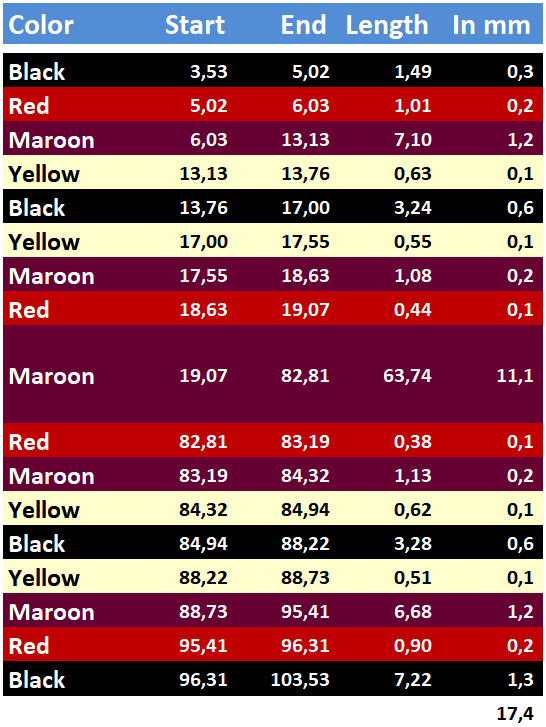 |
The width of the various lines could be derived from this photo. I measured the actual height between the bottom edge of the tank top and the apron on the model: 17,4 mm. I opened the original photo in PhotoShop. This program provides measures in X and Y units where the upper left corner is 0, 0. First I noted the Y-position of the cursor at the bottom edge of the tank top, top of the yellow line: 3,53 and than at the apron, bottom of the yellow line: 103,53. So the total length of the line was 100,00 units exactly (sheer coincidence) which meant that every 5,75 units corresponded to 1 mm on the model (100,00/17,4) By noting the Y-position of the cursor when moving along the yellow line I could determine each distance in the number of Y-units from the top. By subtracting start and end I obtained the width of the line in PhotoShop units which could be converted to mm. It all sounds very technical but in reality it is simple logic and some calculations. It resulted in the table shown at the left and now I have the width of the lines and areas on the tank sides |
|
FR logo |
||
 |
Than there is this logo. I hope I can source it somewhere. Otherwise I will have to make it myself. | |
Changes in painting and lining since the 2015 overhaul |
||
If you are modelling Merddin Emrys make sure which version you want to model. The 2015 major overhaul has resulted in many detail changes which also involve the painting and lining. Generally the maroon of the locomotive is more reddish after 2015.
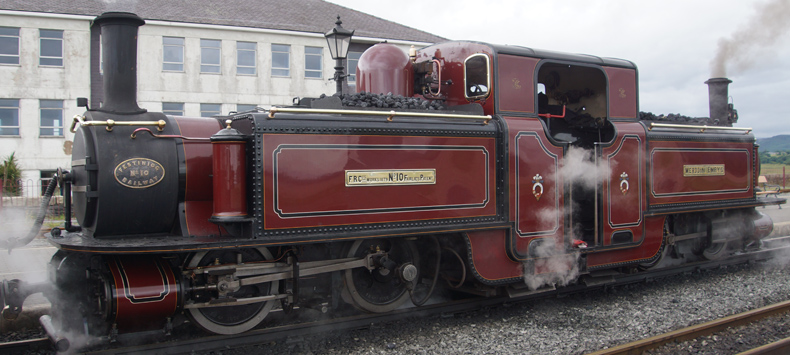
Merddin Emrys in 2009 |
||
Merddin Emrys in 2017 |
||
Major changes:
|
 |
|

Sign my
GuestBook